

Moon Photography
The moon is probably the first target you photographed in the night sky. Why shouldn’t it be?
Other than being beautiful, the Moon is bright and big, so it is a fairly easy object to photograph: you can take pictures of the Moon handheld even with telephoto lenses of 800mm, and you can start getting details with a more modest 200mm lens.

The Moon. Sony RX10 at 200 mm, handheld.
And it is so bright you can photograph from the city, no problems.
Things get a bit more complicated when you want to do real lunar astrophotography, i.e. focusing on the Moon and nothing else, with the highest possible details.
For this, you need at least a 400mm lens. You can still image from a simple tripod up to 600mm, but things like focus, image stacking, and post-processing become more and more crucial.

Olympus Zuiko OM 200 f/4 + Olympus Zuiko OM 2X-A teleconverter on Olympus OM-D EM-5 Mk ii camera.
I am assuming you are familiar with concepts such as focus and image stacking, and if you are not, here a couple of quick info:
When focusing on the Moon, use live view to magnify an area near the Lunar terminator (the border between the part of the Moon that is in the shadow and that that is illuminated): here the sideways sunlight makes craters and other lunar features more evident, so you can use them to achieve good focus;
When focusing on the Full Moon, the frontal light flattens all lunar features. Look around the edges to see some features you can use to help you focus or, on Montes Teneriffe, just south of Plato crater;
Image stacking is a process to combine together many images of the same target with the scope of improving the signal-to-noise ratio in the resulting image.
In short, to get a good image of the Moon you have to nail your focus and stack many images.
There is another key aspect in lunar (and planetary) astrophotography: the seeing conditions. In particular with the Moon, in you look it at high magnification you will see it constantly wibble and wobble. This is the effect of turbulent air in the atmosphere.

Even at 400 mm the Moon shows some wobbling due to atmospheric turbulences.
Because of this, if you want the sharpest possible Moon, you have to freeze its wobbling using a fast shutter speed. The higher the magnification, the faster the shutter speed. Else, you’ll get a soft Moon and no amount of stacking will help.
This process of snapping a lot of images with very fast shutter speed is called Lucky Imaging, and it is a well-known technique used by lunar and planetary astrophotographers using planetary cameras.
Instead of taking still images, a planetary camera is often used to record a video with a fast frame rate (number of frames per second): this way one can take thousands of images in a couple of minutes.
But planetary cameras require to be connected to a computer in order to work and I don’t like this. As I don’t image from home and my laptop is big and with only USB 2 ports, I will be limited to a frame rate of 15-20 frames per seconds: not really worth the effort.
But could one do lucky imaging with a DSLR or mirrorless camera or better keep shooting in RAW?
A Simple Switch To Improve Your Moon Photography With A DSLR Or Mirrorless Camera
I never look into the video capabilities of photo cameras: being more a deep sky astrophotographer I shot in RAW and so I always did with the Moon, often stacking the best 25% of 50-60 frames.
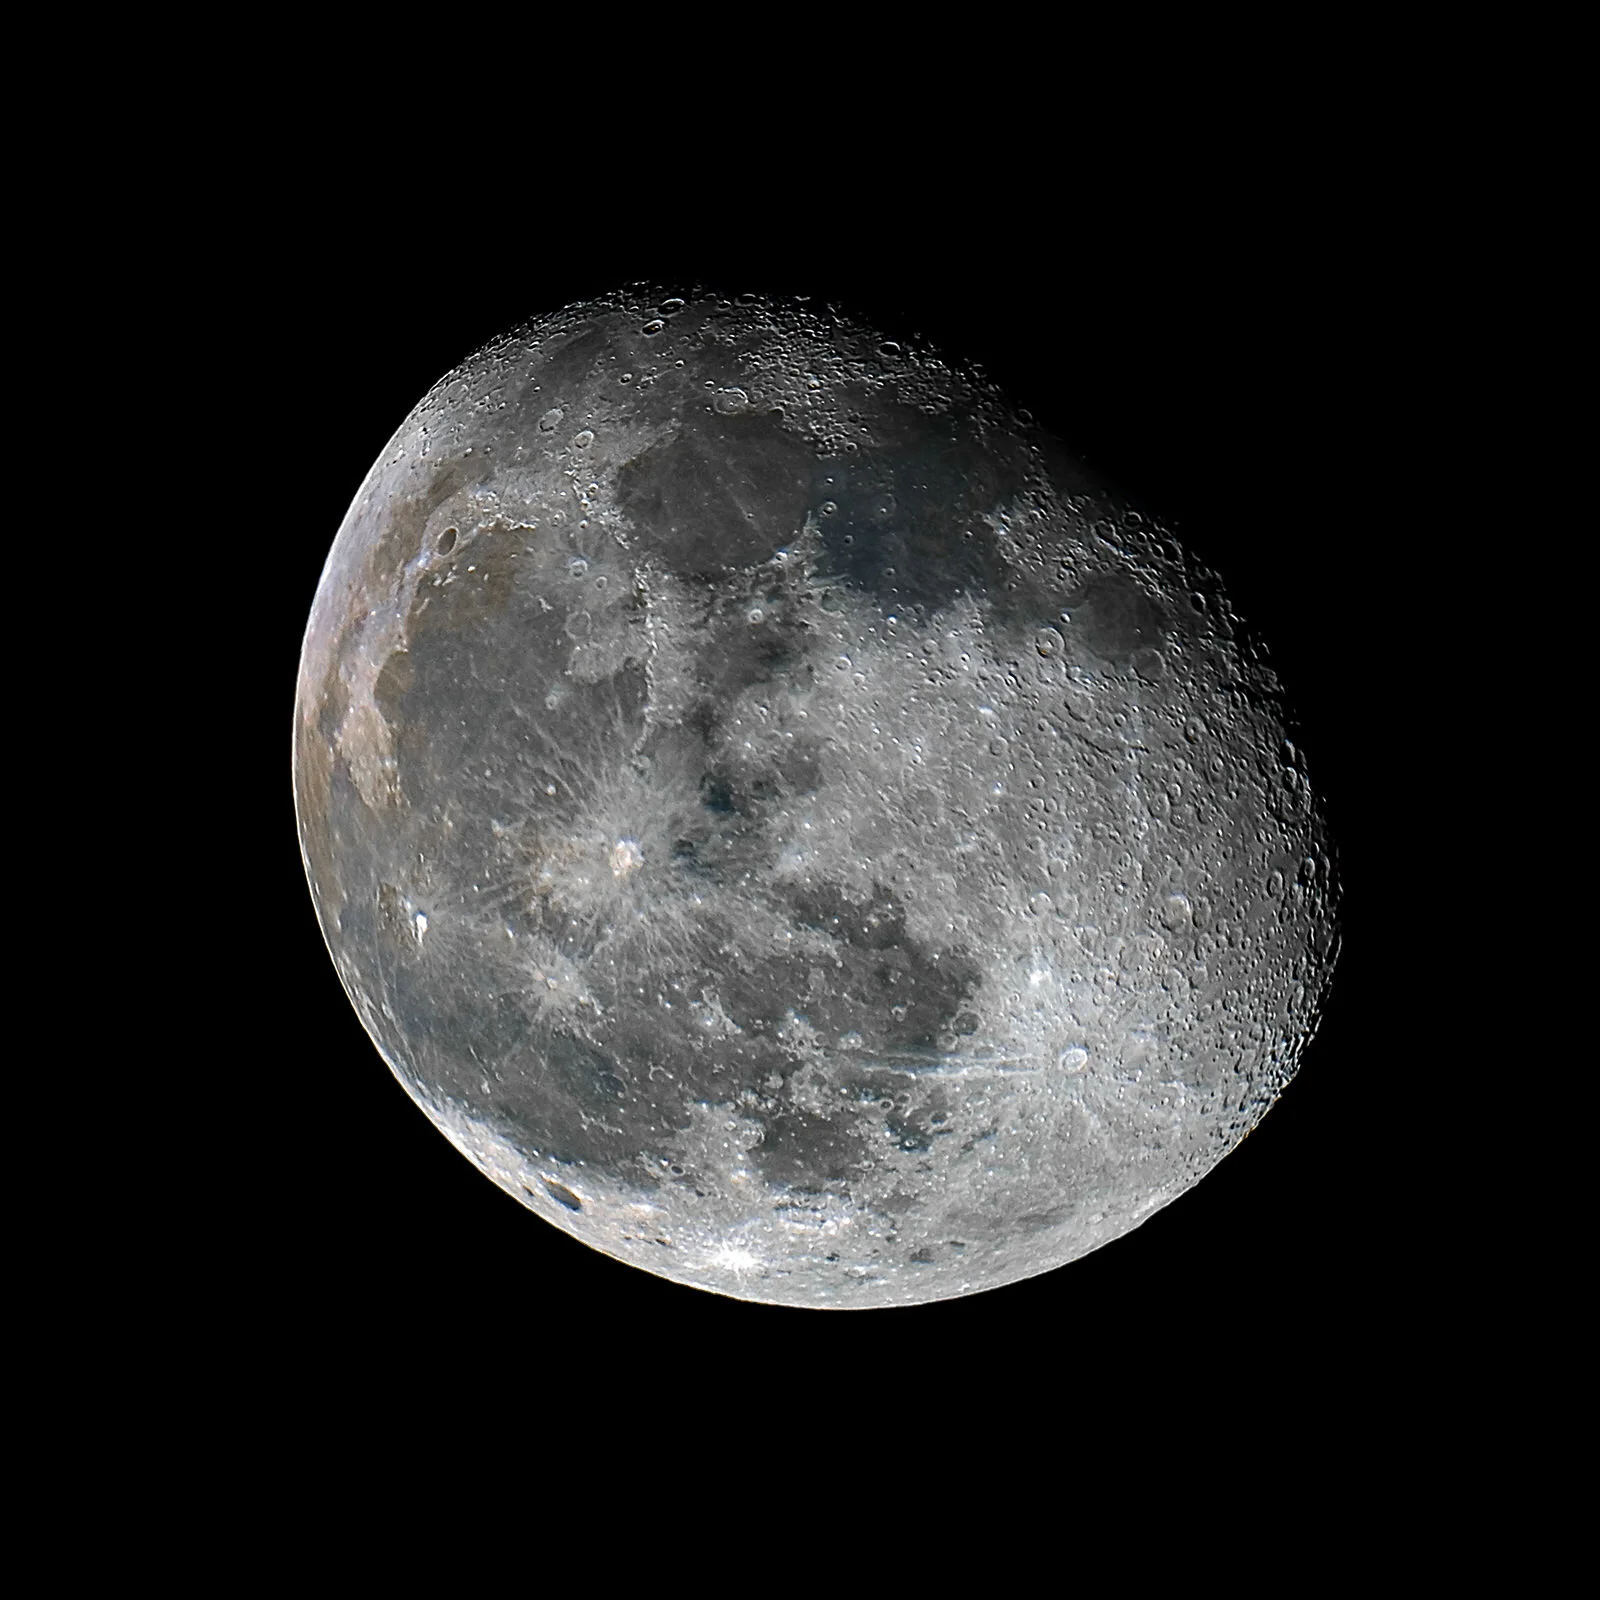
The Moon from stacking single Raw images. SkyWatcher Skymax 90/1250 and Olympus OM-D EM-5 Mk ii camera. Tracked with Skywatcher Star Adventurer.
As you can see, the image above is quite nice. Yet, despite using a decent Skymax 90/1250 telescope, it could be much better.
The problem is that even when photographing at 1/200th of a second, the minimum delay between shots in a sequence is 1 second: that means one can collect only 300 images in about 5 minutes.
But Raw images are (allegedly) better than video frames from a camera, which are often full HD 1980x1080 (4K if you have a good, recent camera).
It turns out that having a larger pool from where to fish the best images is more important than single-frame resolution.
The images below are taken with the same Skymax 90/1250 telescope and the same Olympus OM-D EM-5 Mk ii camera, but instead of using RAWs, I recorded videos of 2 minutes, 30 frames per second: each video gave me 3600 frames to choose from.
For the close-ups, I used a Celestron X-Cell 2x Barlow Lens.
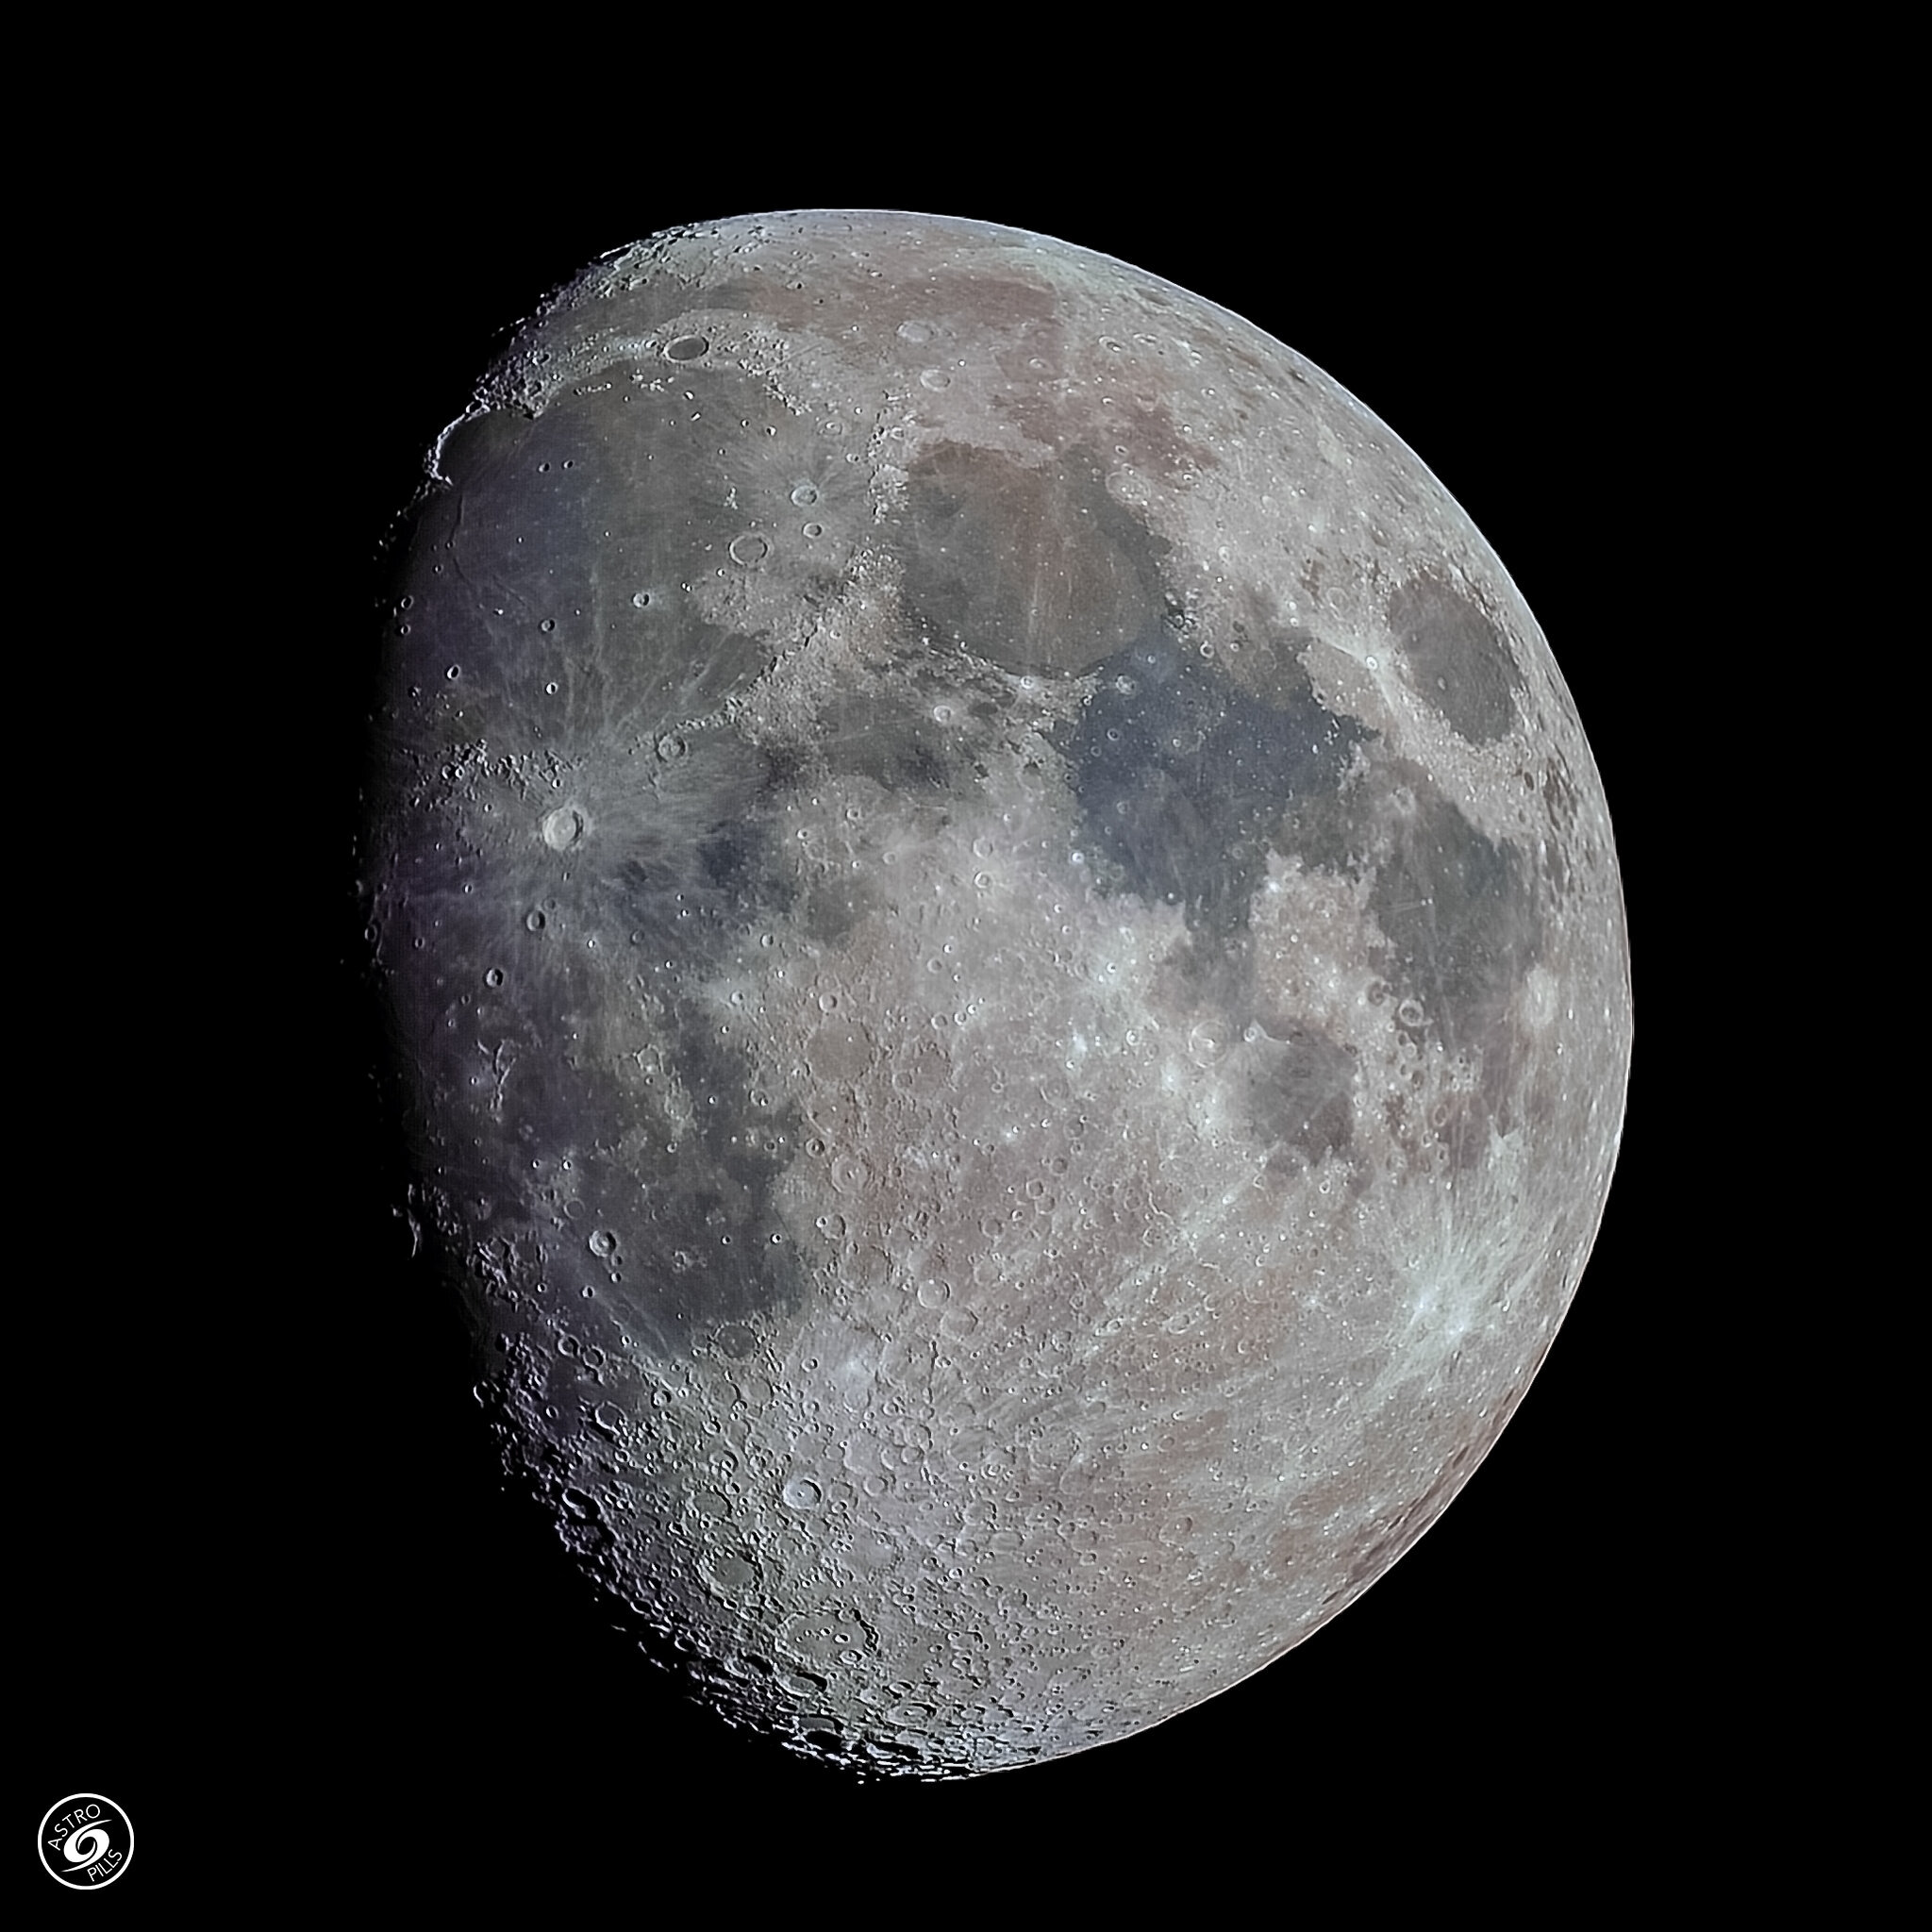
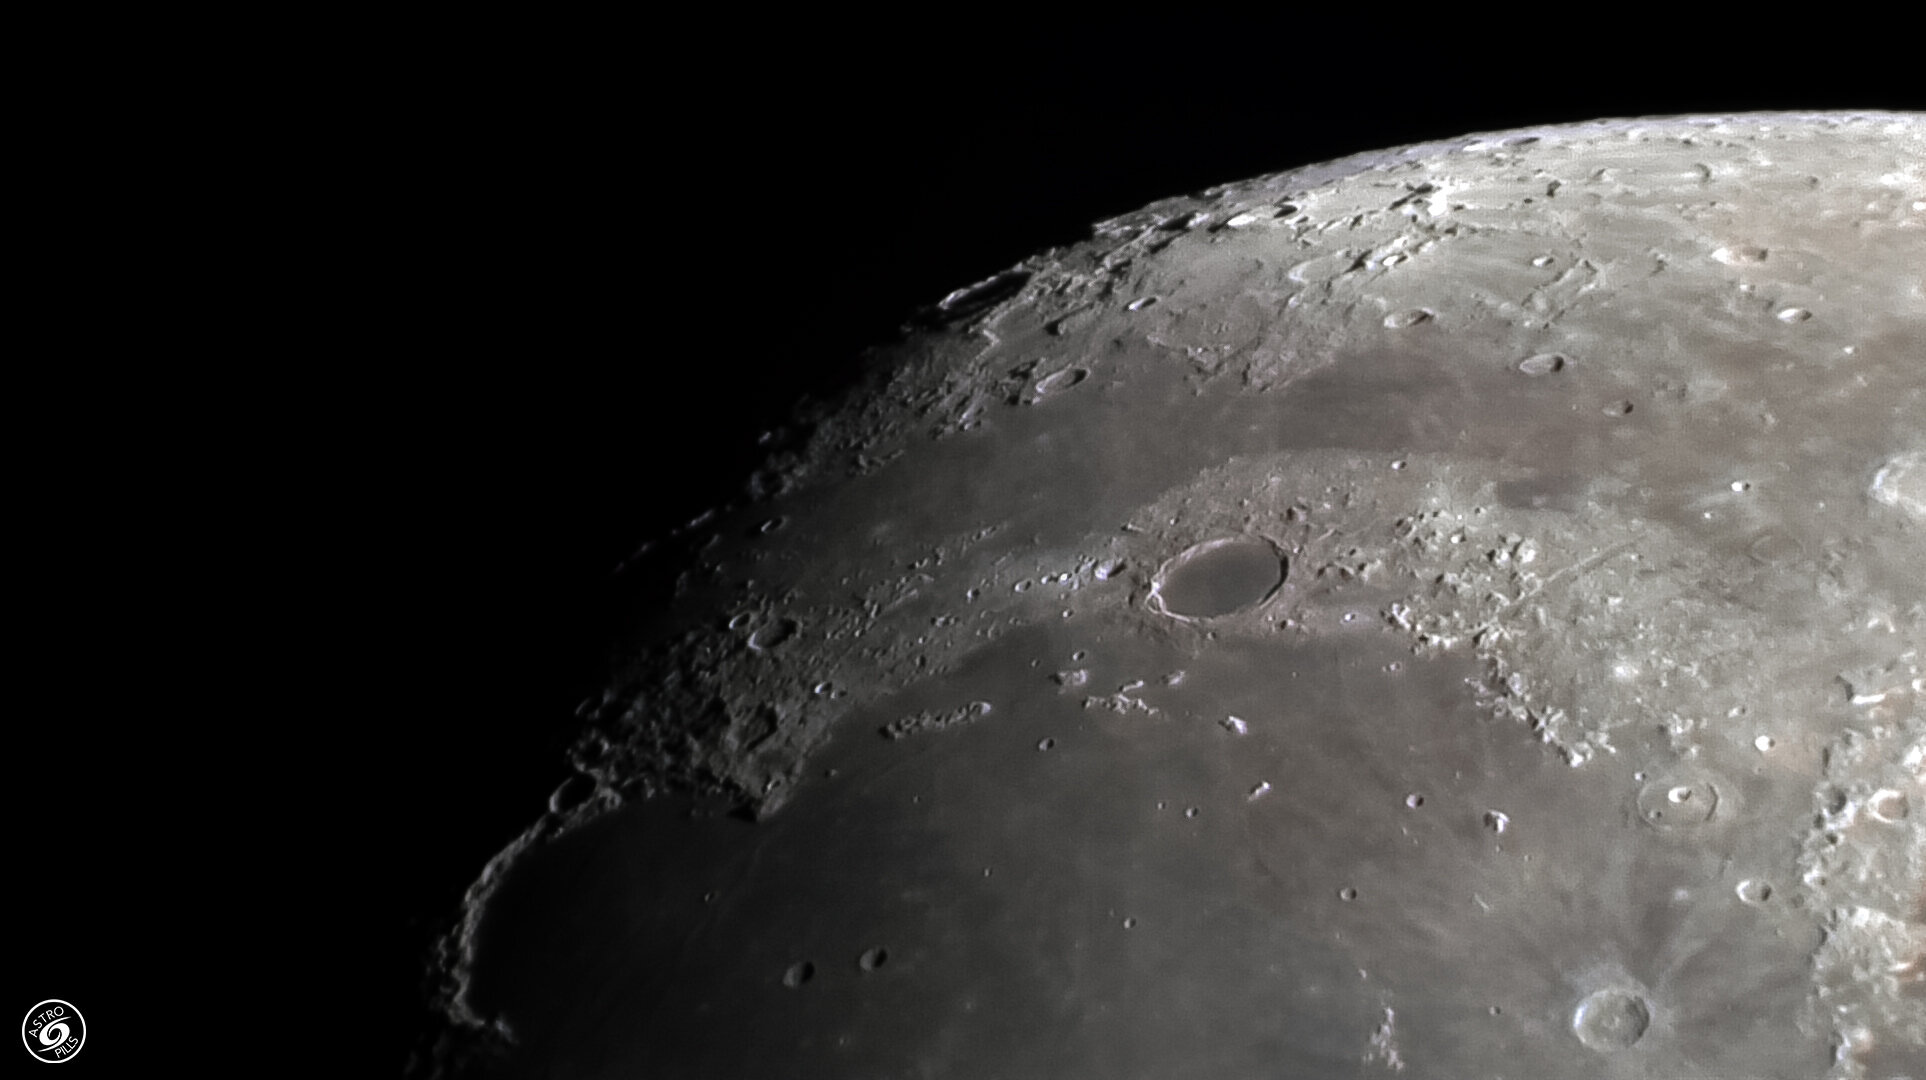

As you can see, the images are crispy and well defined so, to me, it is well worth shooting video rather than taking single raw. One thing to pay attention to is that if you track the Moon in alt/az (or you are on a fix tripod) you should not go crazy with the length of the video. After a while, in fact, field rotation can get difficult to compensate during the stacking and you can get blurry and soft images.
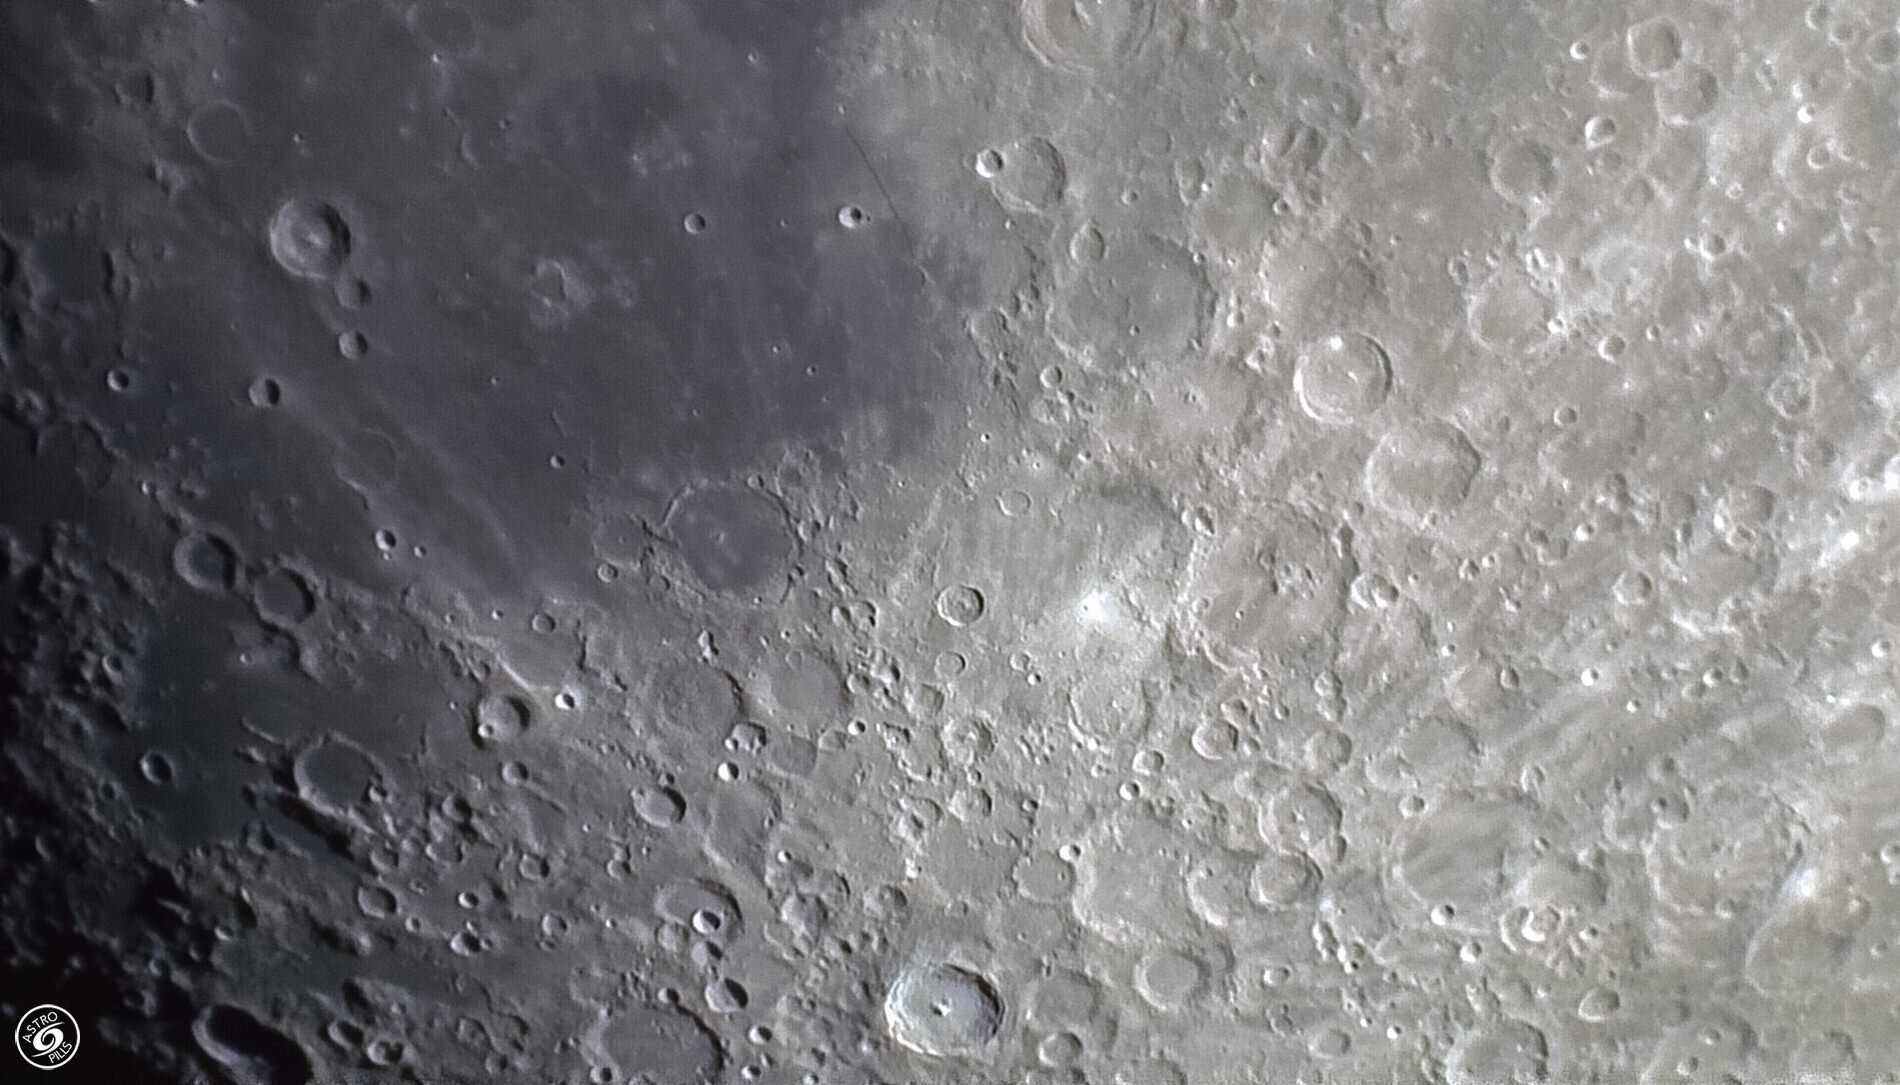
The image below shows this “softening” effect when selecting frames from a video of 5 minutes.

The blurry-soft look I think is coming from a not fully corrected field rotation during image stacking. A problem with long video recorded from fixed tripods or alt/az mounts.
Video Settings
Here is how to set your camera for the best video performances:
Disable video stabilization, as you are on a tripod or tracking mount;
Choose the highest bit rate your camera offers. I use all-intra;
Use the fastest frame rate for the highest video quality that is compatible with the highest bit rate. I use full HD, 30fps. if you have 4k use that if the bit rate is good enough;
If you have video styles, use the one made for post-processing videos (I have a profile called flat for my OMD, but not for my older E=PL6) or use the neutral profile. This allows you to better post-process the video frames.
Use manual video shutter speed. This way your shutter speed can be set faster than the video frame rate (for me, faster than 1/30th of a second, as I record 30fps).
And What About Planets?
The same principles apply to planetary astrophotography. I made a quick test on Jupiter and Saturn: although small, these are my best planets so far.
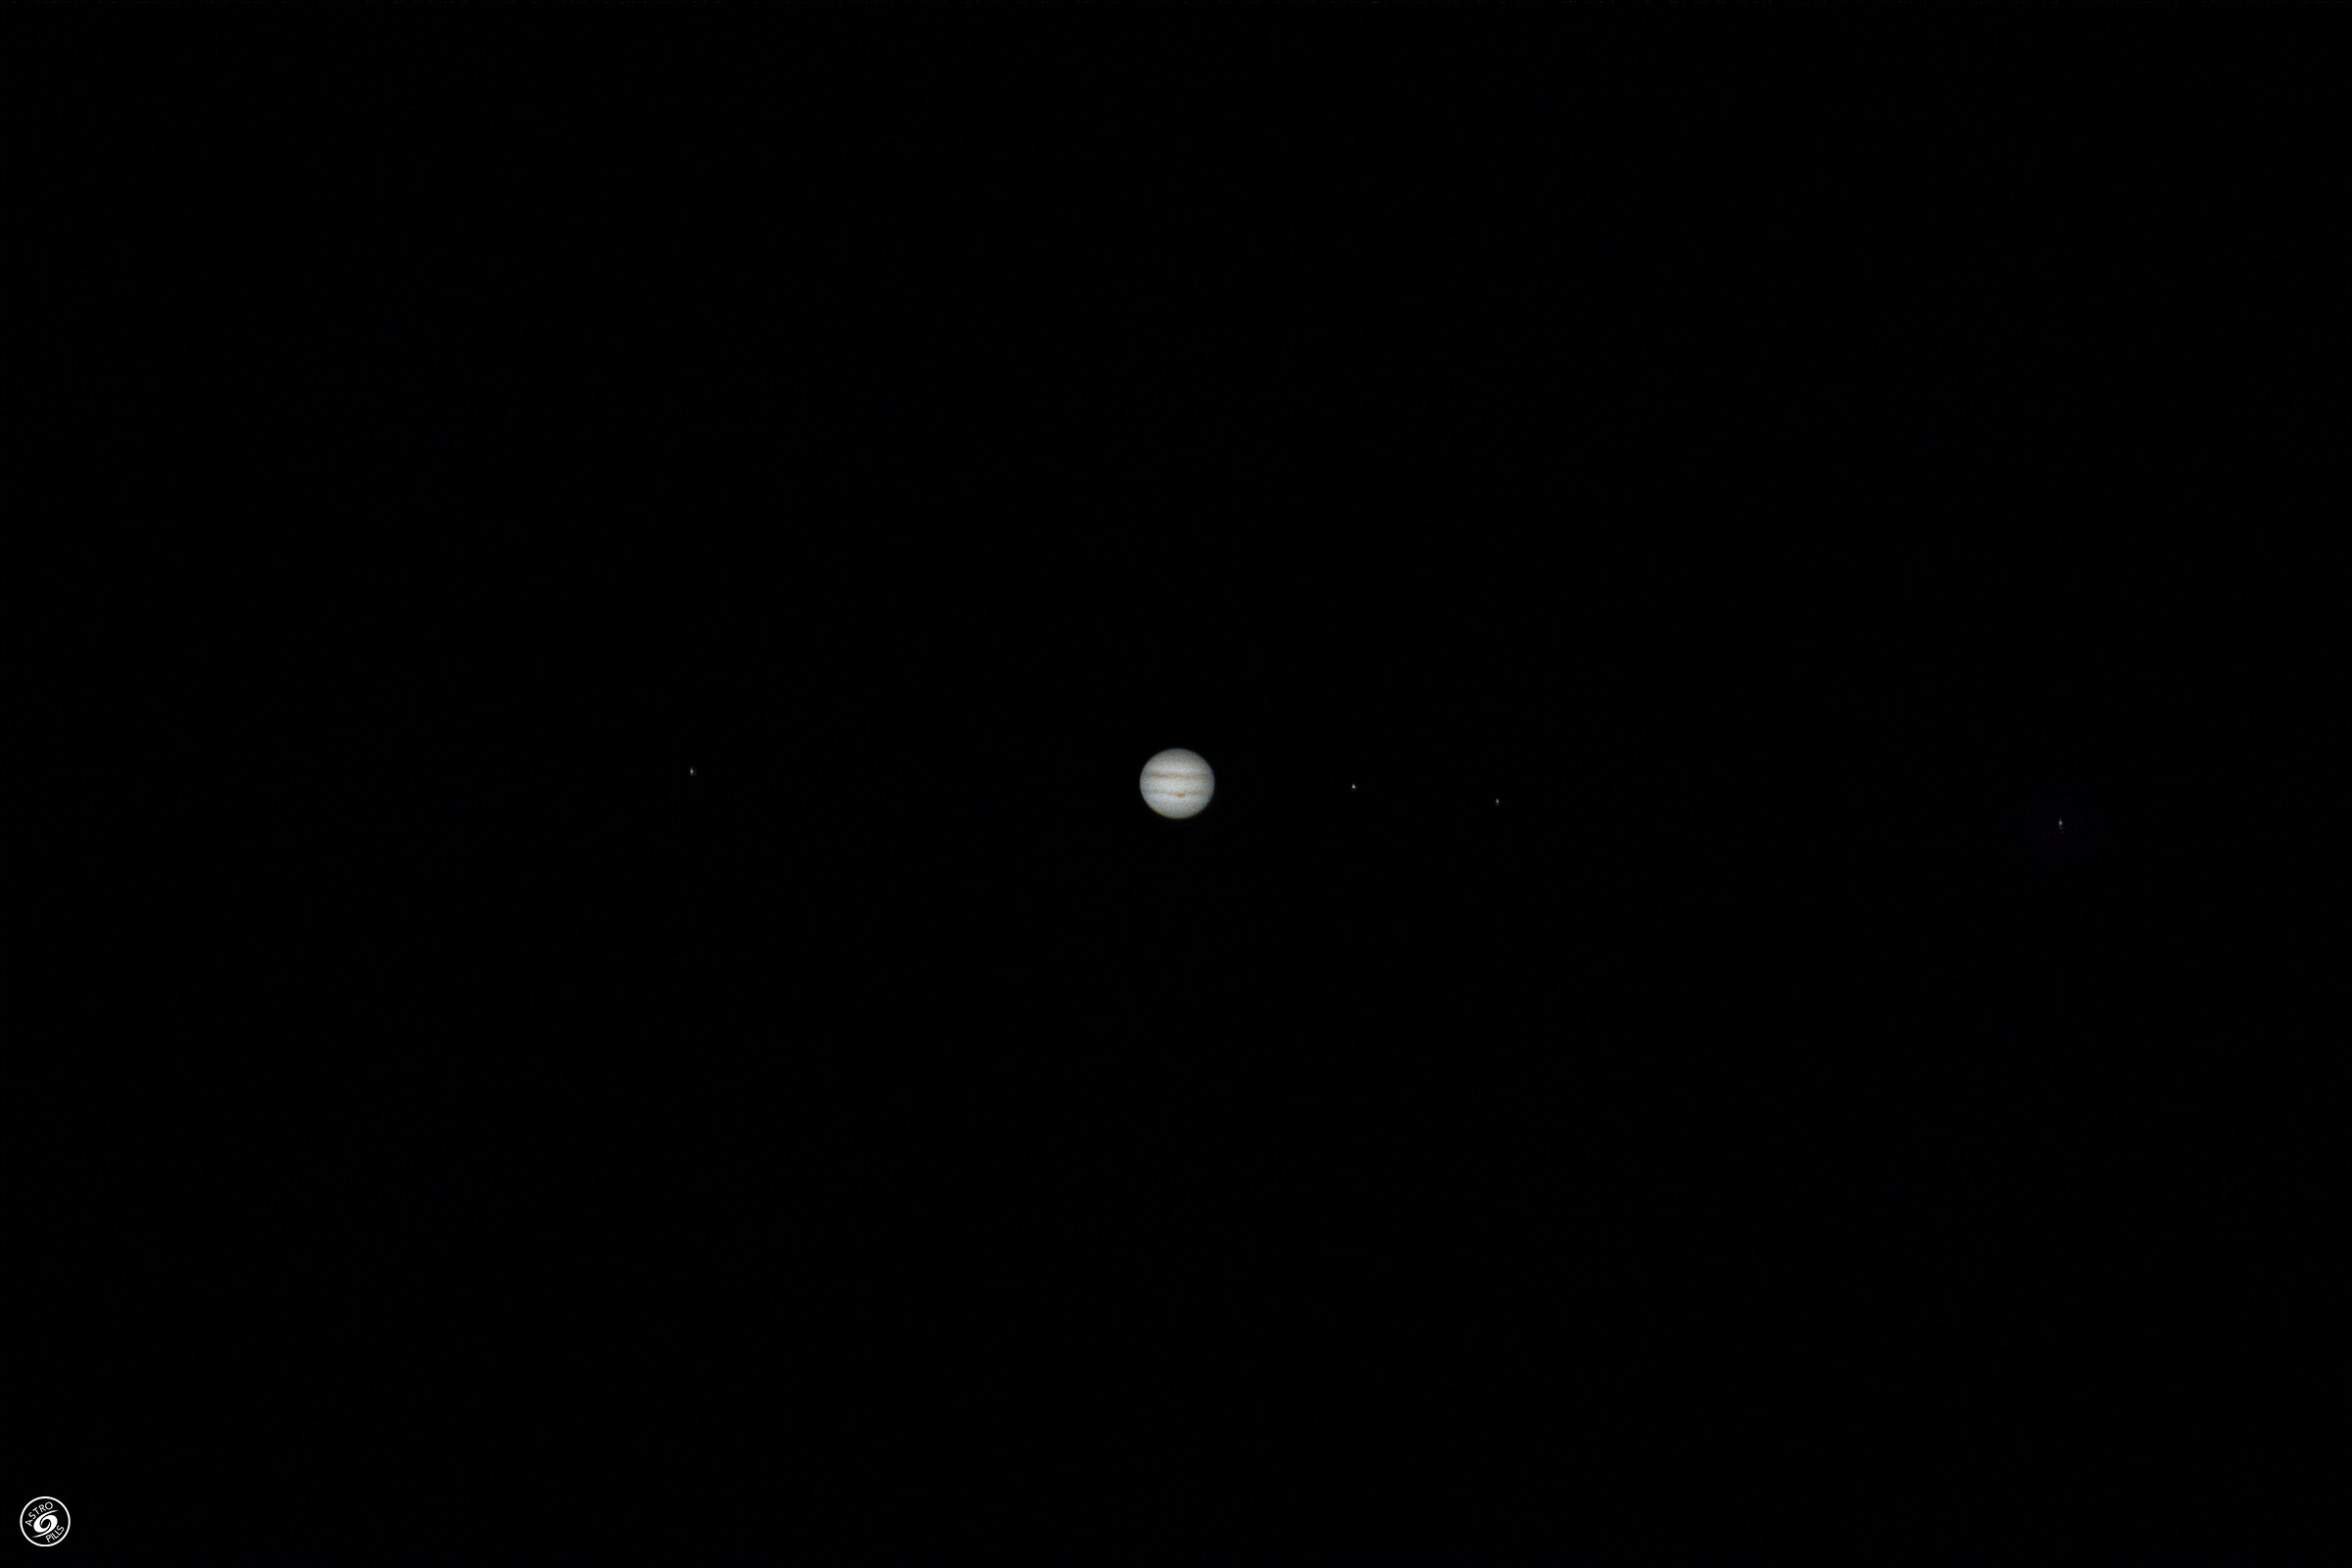
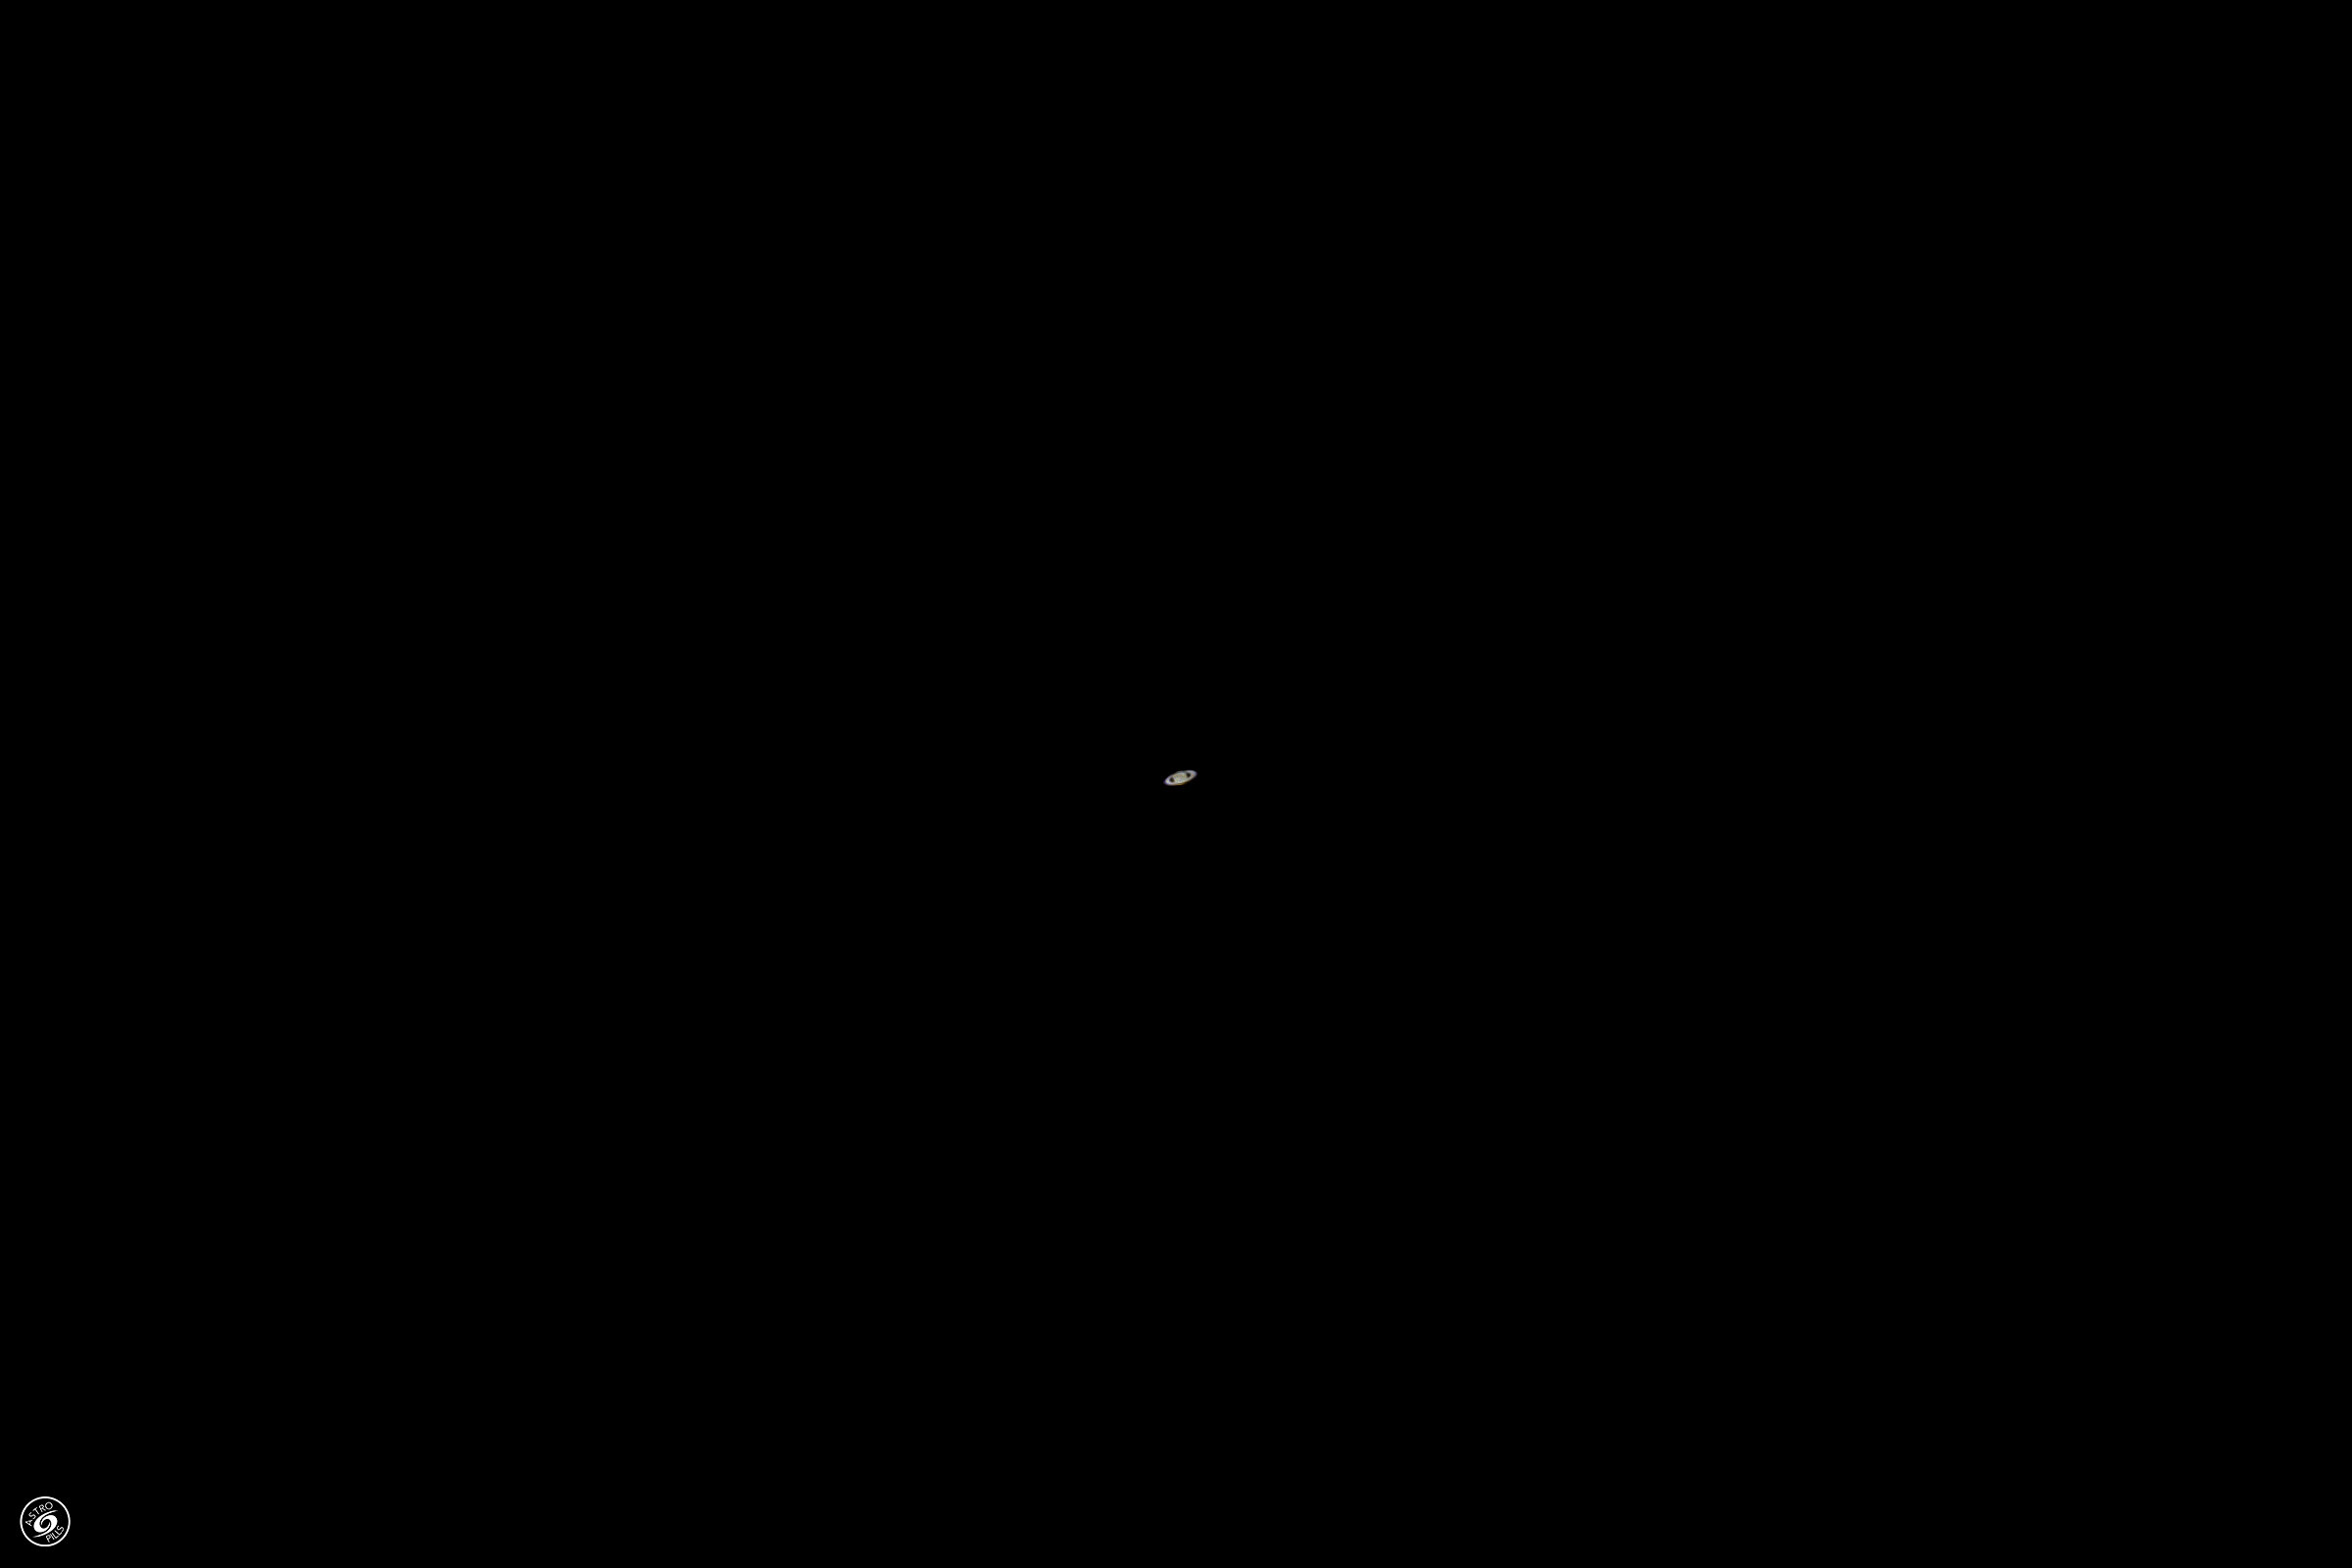
Conclusions
Now, your turn and let me know in the comment if it works well for you.
Of course a dedicated astro camera will have many advantages, but if you don’t have one yet, or, like me, found it difficult to drag your laptop along, recording videos with your camera is the second best thing you could do to improve your lunar and planetary astrophotography.